|
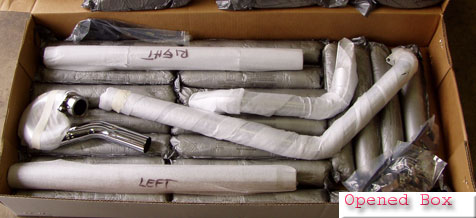
The Freedom Performance Exhaust system,
the way it looks when you get it. |
 |
|
Parts
List
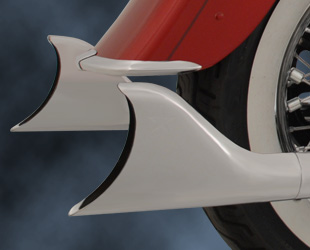
Small Box
- 2 Shark tail
exhaust tips (Shark tails only)
Large Box
- 4 Mounting Screws
(see photo)
- 2 Header Pipes
- 1 Rear Crossover
pipe
- 3 Heat Shields
2 for the headers and 1 for the cross over pipes
- 2 Extension
pipes marked left and right
- 2 brackets left
and right (see photos)
|
 |
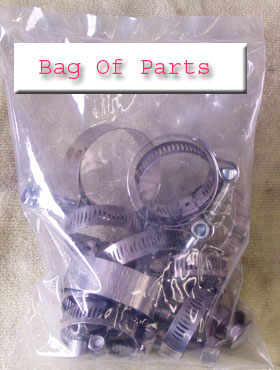
Hardware
Package
- 8 Hose clamps
- 3 Muffler Clamps
- 4 Carriage Bolts
w/bolt, nuts & washers
- 2 Right brackets
bolts & nuts
- 1 brake line
mounting bolt w/nut
|
Helpful
Tips!
- Read everything
twice before you start the installation
- Use Loctite
only where the Yamaha Manual says to do so.
- Don't use locktite
when you don't need it.
- Get the torque
specifications from the Yamaha manual
- Use Aniti-Seize
with exhaust bolts on header
- Don't tighten
the bolts untill everything is set in place
|
|
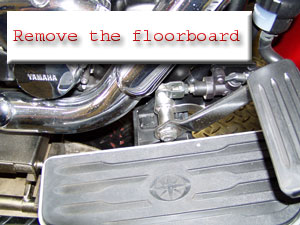
Step 1. Remove bolts from right
floorboard
There are 2 bolts under the floorboard
that can either be loosened or remove the bolts and floorboard
completely. |
 |
|
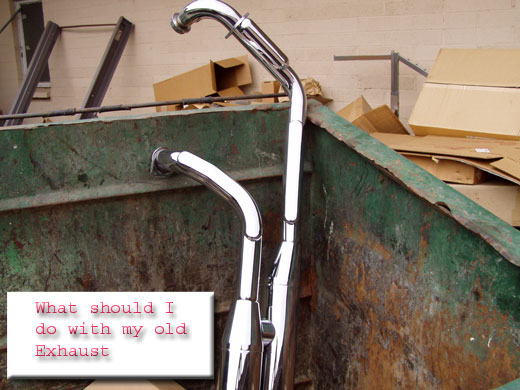
Step 2. Remove the existing exhaust
system from your motorcycle
See Yamaha service manual for complete
removal instructions. Take extreme care as you don't want to
scratch or hurt your existing exhaust system. |
 |
|
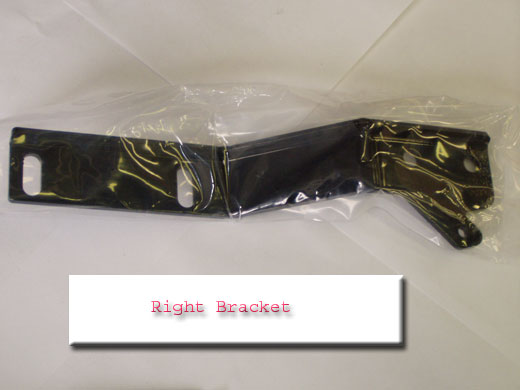
Step 3. Install Right Bracket
Install the right bracket, note the
little dog ear at the top is for the brake line holder, a bolt
is supplied for this installation. The bracket goes behind the
frame. |
 |
|
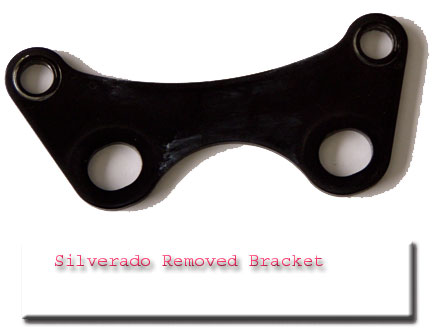
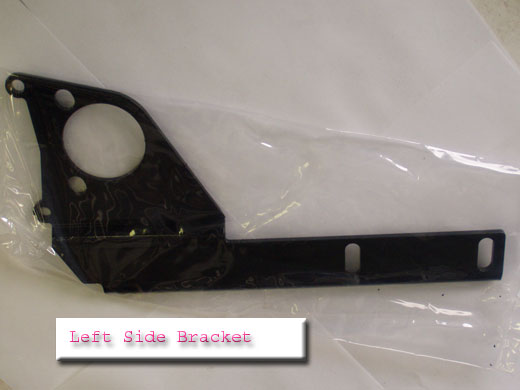
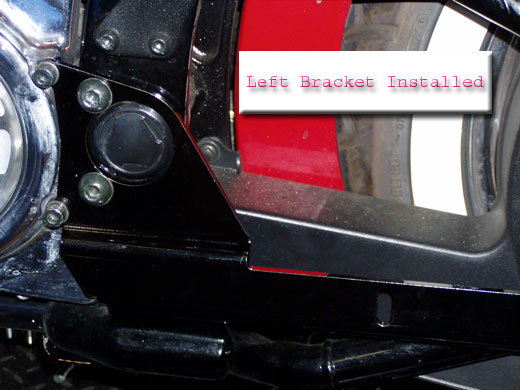
Step 4. Install Left Bracket
Install the left bracket, using the
existing bolts after you remove the silverado plate (see photo
below, you may not have one). |
 |
|
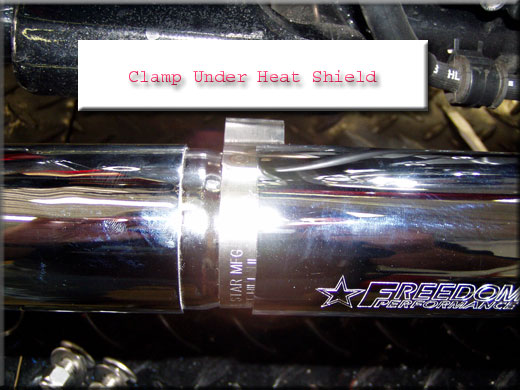
Step 5. Install the header pipe
heatshields
You can mark the location of the clamp
to make installation easier. |
 |
|
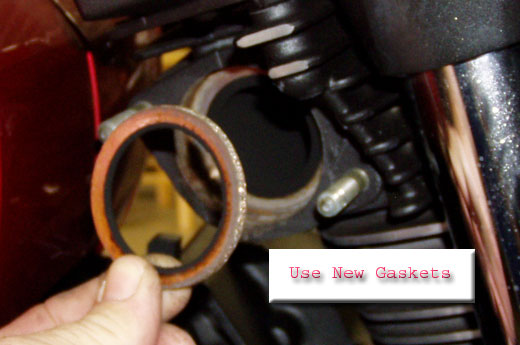
Step 6. Install the header pipes
You may want to replace the gaskets
in the header pipes to save you a problem down the road. |
 |
|
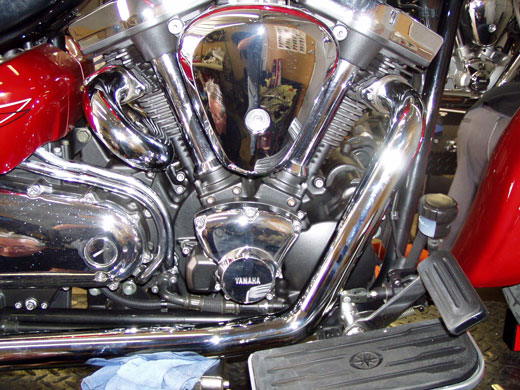
Step 7. Stand back, look how nice.
|
 |
|
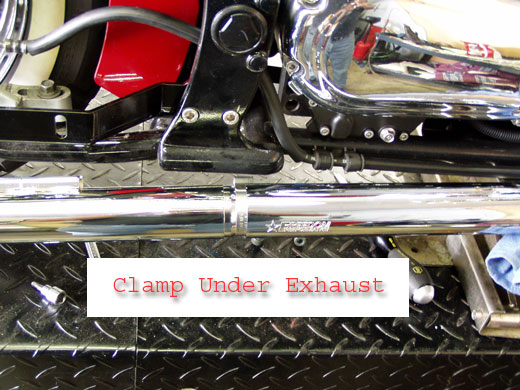
Step 8. Install the exhaust pipes
Place the clamp over the end of the
exhaust system, work the exhaust over the header pipe and clamp
(additioanl photos below), your seams should be perfect, if they
are not do it again. Sometime the clamp has slipped back and
does not allow a good seam, reposition it and try again. Once
the seams look great install the carriage bolts. |
 |
|
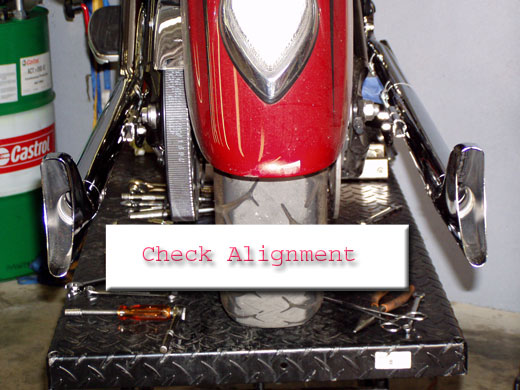
Step 9. Install the tips
Position and install your tips, align
everything and tighten the bolts from the header back to the
exhaust. It's best to have a friend help you with alignment. |
 |
|
Step 10. (Optional) Cut the bolts
on the clamps
|
 |
|
Some other photos that will
help with the installation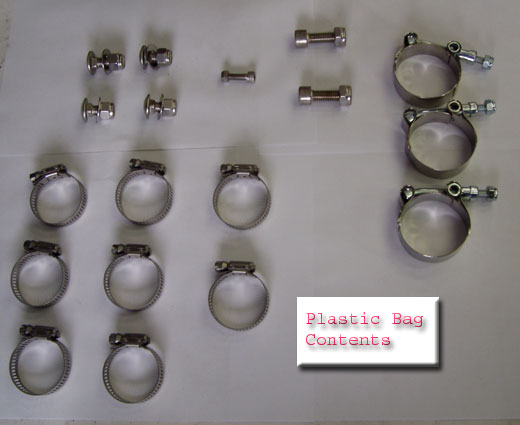
|
|
|
|
|
|
|
|
|
|
|
American Side Road Cycles has no
control over the usage of any part. American Side Road Cycles
expects that their customers will exercise good judgement as
to the proper selection, installation, use and maintenance of
any parts. American Side Road Cycles assumes no responsibility
for damage or injury of any kind because of the misuse or improper
application of any parts in any way by any person. Use motorcycles
at your own risk. American Side Road Cycles shall not be liable
for any indirect or consequential damages whatsoever. All matters
shall be interpreted under Virginia law. If the manufacturer
has a written warranty, it will be included with the item you
purchased. The manufacturer shall be solely responsible for any
damage to person or property arising from design and manufacture
and testing of its products and we accept no liability for such
damages. We shall not be liable for consequential damages.
|
By using the above information, you acknowledge
and agree to assume the risk that the information and materials
may be inaccurate. Although reasonable efforts are taken to ensure
the accuracy and integrity of information and materials provided
by American Side Road Cycles on this Site, accuracy cannot be
guaranteed and American Side Road Cycles makes no warranties
or representations whatsoever as to its accuracy. This Site,
and all information and materials contained herein, is provided
to you "AS IS" without any kind of warranty, express
or implied, including, but not limited to, the warranties of
merchantability, fitness for a particular purposte and non-infringement.
|
|